The making of our first Fairtrade & Fairmined gold ring
17 August 2011
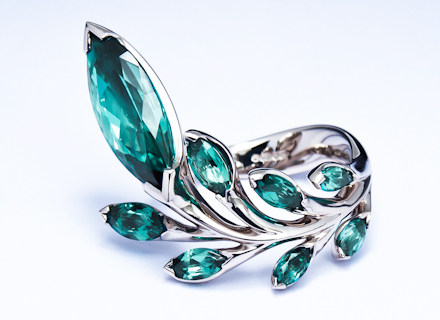
Having been a long time in the making it’s finally here, and it’s a ring we are all very proud of. For such a strong design, it still looks beautiful and feminine when worn on the finger.
You can see more images on our Fair Trade page.
I bought the large stone last summer. It was one of those situations where I knew I would buy it within seconds of seeing it. It’s a stunner!
Scroll on to read more, and to see some images of the ring being finished along the way.
Designing the ring
The ring took us at least ten days to get the design right from initial sketches to a working 3D ring, and involved making four silver mock ups, and numerous changes.
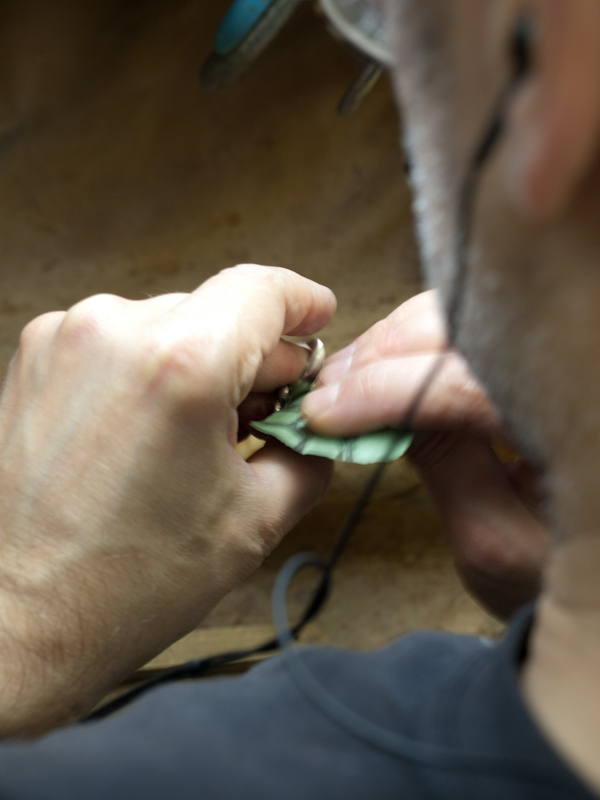
‘Seating’ the stones…
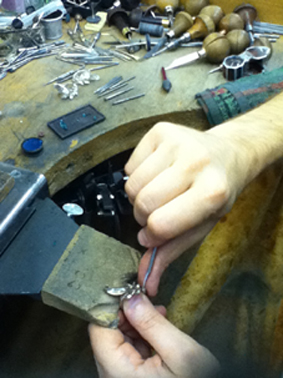
Once the ring was made, the first stage was to ‘seat’ the stones into the settings; making subtle adjustments to get them sitting level and straight, wedged in at the right height without any movement, ready to be set. Unlike mass produced jewellery, we use traditional hand engraving tools to cut metal out of the inside of the setting, slowly and surely, allowing for a more refined finish. The aim is to cut a fine ledge for the stone to sit on, hence ‘seating’ the stone
Each stone can be placed in and out of the setting dozens of times to get them sitting just right. Below shows Dudley ‘offering up’ the large stone.
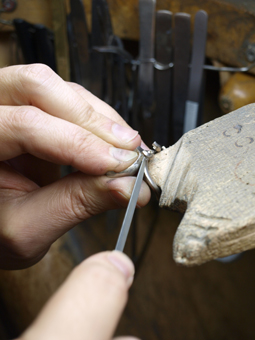
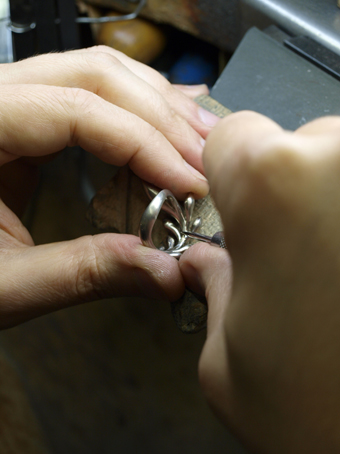
Final shaping with needle files
When all the stones are seated precisely, they all come out of the ring for final shaping, and for the surface to be evened out by filing all over with small needle files.
From filed to polished
Removing the file marks begins a long process of sanding, burnishing and polishing. We have pendant motors suspended above our workbenches, very similar to dreaded dentists’ drills. These take many attachments to help this process along, although much of the sanding is still done by hand. We start with coarser grades of paper and work down to finer, each stage aiming to remove the marks left from the previous.
The art of burnishing – metal on metal
Burnishing is another very traditional technique that has been used for centuries. It not only work hardens the surface but smooths and polishes as well. It is especially useful on parts of the ring that are hard to get to, and on this ring there were plenty!
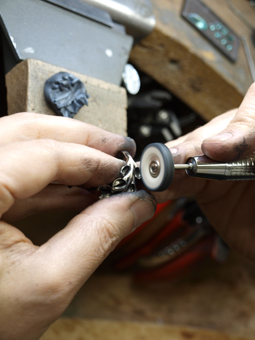
Polishing in all the nooks…
We start the polishing process with calico wheel and cutting compound. This takes out the final emery marks, left from the last stage. The ring is also polished on a larger polishing machine, which shines the larger surface areas.
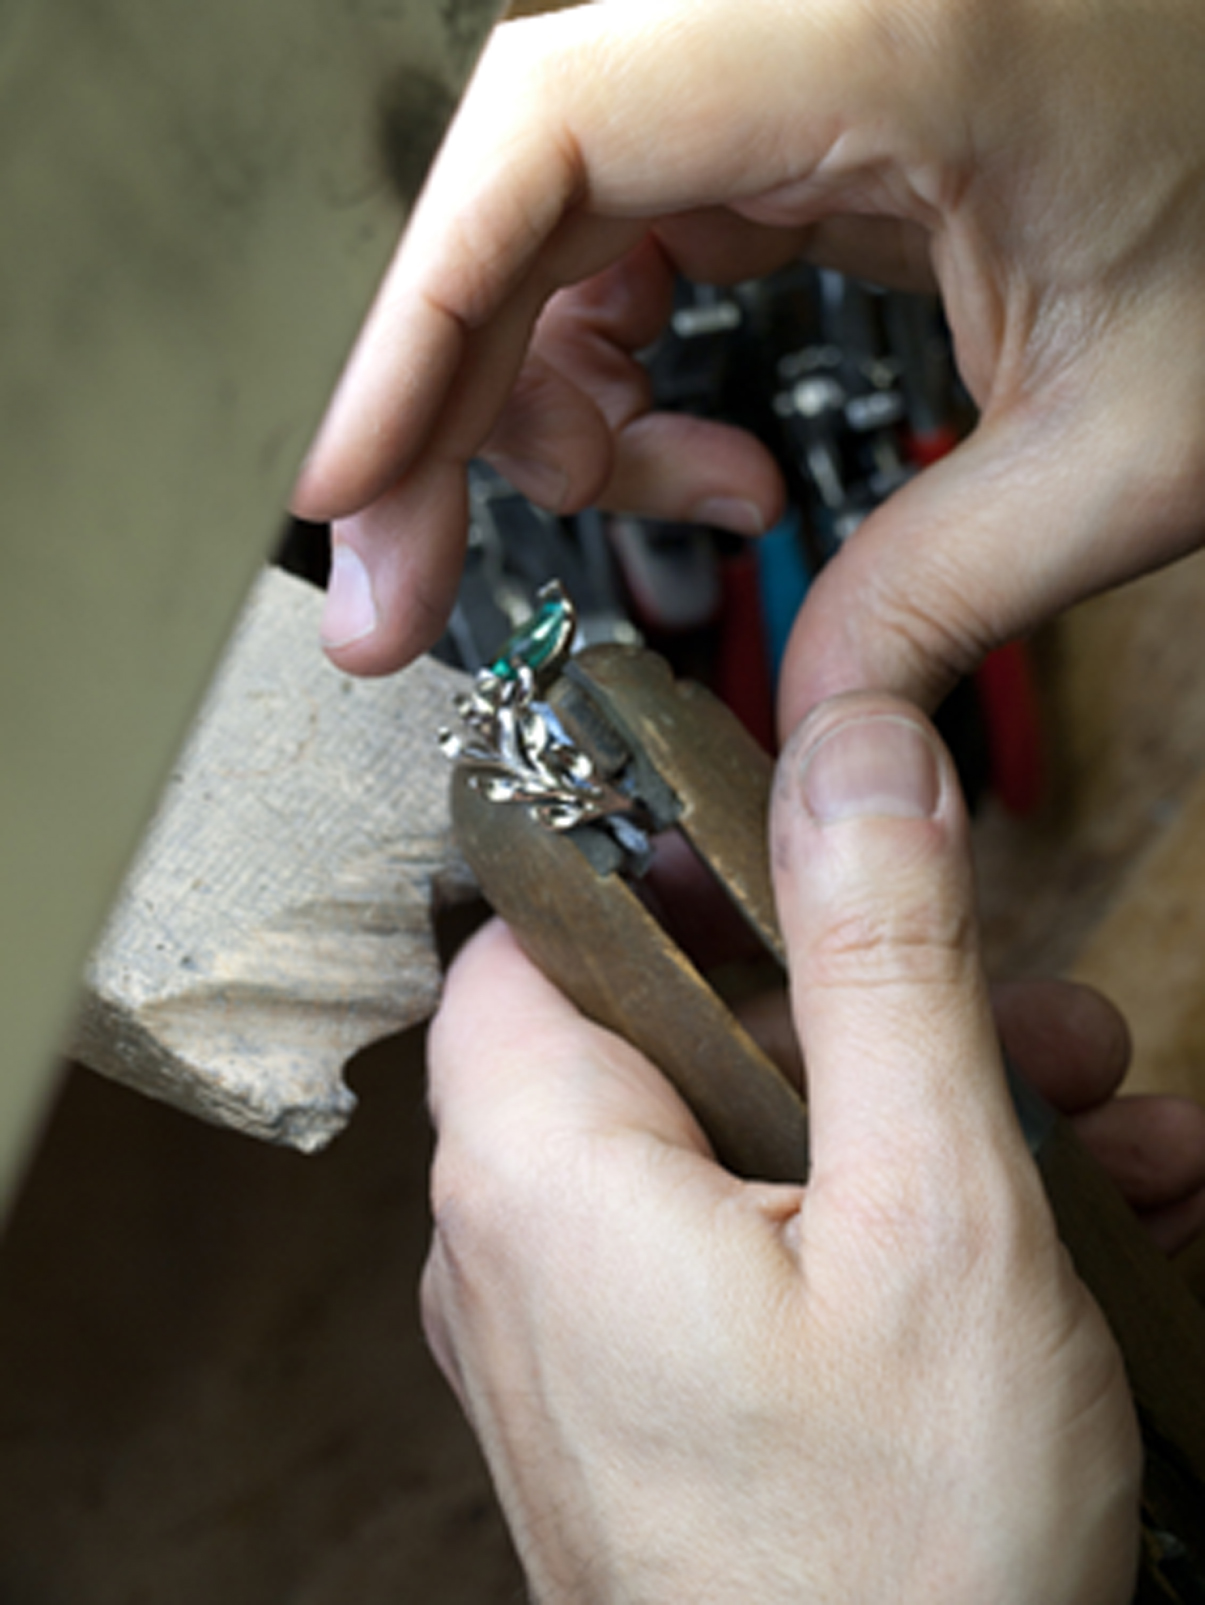
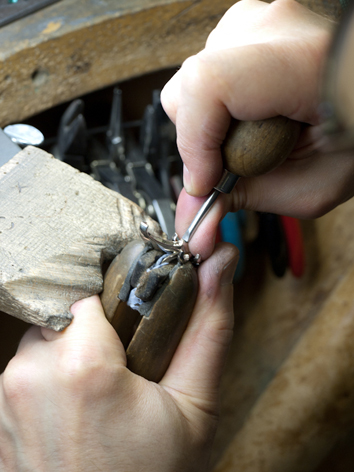
Setting the stones
Returned to their settings, one by one, the raised metal is pushed carefully down by hand on to the surface of the stone. On this design the metal holding the stones down in their settings forms neat little ‘V’ shapes, echoing the shape of the marquise cut stones. Below shows Dudley preparing one end of the main setting. Once it’s doing its job, the stone would be put in, and the other end pushed down. Each stone might take 2 – 3 hours to seat and set to the standard we desire.
Hope you’ve enjoyed this insight. As well as the initial ten days to design the ring and make numerous silver prototypes, it took us over six days to make the final piece. Hopefully you’ll agree it was time well spent!
There are currently no comments
Leave a comment
Your email address will not be published. Required fields are marked *