End set Ruby ring - how's that done then?
05 July 2016
So here's the rub - it's workshop Wednesday over in JD Facebook world, and Chris is nowhere to be seen - lucky Chris! However, he does need to rest, as he is working on quite a ring, which we hope to show you next week, when it's finished. So I started thinking - with Vicki posting pictures of our end-set ruby eternity ring, apparently Ruby being the birthstone for July, and us talking about this kind of setting in the last few posts about Jane's ring - we could delve a bit deeper into the process.
But, so I don't end up going on and on, I've started at the stage where the ring is already handmade, hallmarked and filed, to be ship-shape and ready to go. I think I will (or ask Chris to) write a post about the process of making our handmade wedding rings, which are also the starting point for our eternity rings. It might hopefully be interesting to some, and is certainly very different and traditional in process, to the vast majority of commercial, machine made wedding rings.
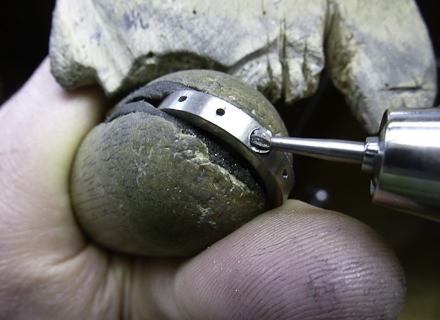
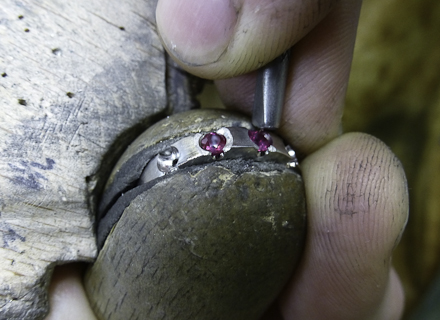
The first picture above, picks up at the stage that the ring has been marked out, to get the position of the stones just right - spaced evenly between each other and down through the centre of the ring. Holes have been drilled, and Chris is just opening them out carefully, with a ball burr, so that the stones will fit in.
This whole process is called 'seating' the stone, as they need to 'sit down' into the ring, with the widest part, the girdle, sitting just below the surface of the metal.
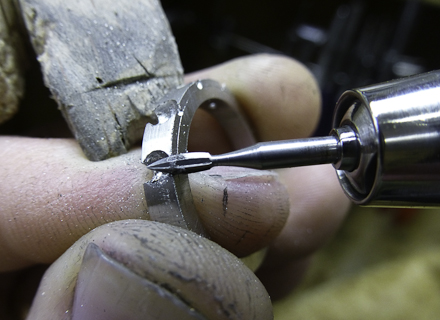
This is where handmaking jewellery can get a little bit annoying - you've got the stones seated perfectly, not moving, just at the right height, and then....you have to take them all out again! This allows the side scoops to be cut, with another tiny burr. Very precise work. Please note Chris's neat marking out - scored lines, so he can get each scoop to match the others. Attention to detail!
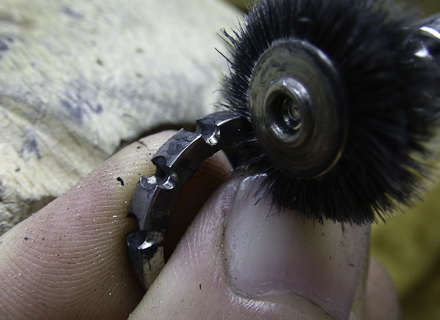
These scoops then need to be polished!
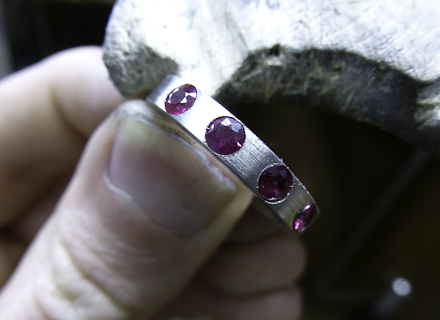
And finally, after many hours in labour, the pushing can begin! Chris is literally aiming to spread the metal over the edge of the stone, by forcing the metal down around the stone, with a tool, imaginatively named, a 'pusher'! The finished ring is set by two little 'C' shape settings in between each stone. To get from this last photo to the finished ring, is a lot of filing, burnishing round the stone, polishing and generally making good. You can see the finished rings here!
The beauty of the end-setting style, is that you can set the largest stones possible into the width of the band, as there is no setting on the edges. In my experience this is a good thing; women like this!
Thanks for reading!
Jon
elosuji
06 January 2022 at 3:11 p.m.
http://slkjfdf.net/ - Uzetefono <a href="http://slkjfdf.net/">Irliig</a> ffg.pzcb.jondibben.co.uk.bbs.fw http://slkjfdf.net/
Leave a comment
Your email address will not be published. Required fields are marked *